Installing and connecting a washing machine in the USA: the complete guide 2025 | Fix concierge

Installing and Connecting a Washing Machine: A Comprehensive Guide 2025
Installing a washing machine yourself may seem cost-effective, but it requires a thorough understanding of US building codes, plumbing standards, and electrical safety. An improper connection can lead to serious consequences: leaks, flooding, thousands of dollars in property damage, short circuits, and even fire. This guide details all installation stages, considering the specifics of American home infrastructure, and explains when skipping professional service is a false economy.
Do not risk your home's safety and integrity! A licensed, experienced technician from Fix Concierge Service will install your washing machine quickly, correctly, and with a guarantee on all work. Find a trusted specialist in your area through our app.
Choosing the Installation Location: Requirements, Codes, and Restrictions
In American homes, washing machines are typically installed in designated areas like laundry rooms, basements, or garages, and less often in bathrooms or large closets. The location must meet strict technical and building codes.
Critical Installation Site Requirements:
Solid, Level Floor: A concrete slab is ideal. Wooden floors must be reinforced to support the machine's weight (150-200 pounds) plus the weight of laundry and water during the spin cycle, which creates intense vibration.
· Access to Utilities: The cold water supply, drain, and a dedicated electrical outlet must be nearby.
· Adequate Ventilation: The room should be well-ventilated to dispel heat and moisture, preventing mold and mildew.
· Stable Temperature: The room must be heated. Installing it in an unheated garage or basement in cold climates is risky, as residual water in pipes and hoses can freeze and cause bursts.
Minimum Safe Clearances:
· Sides: At least 1 inch for air circulation and vibration dampening.
· Back: At least 4 inches for easy hose access and to prevent kinks.
· Front: At least 36 inches for comfortable loading and unloading.
Installation Preparation: Critical Steps You Cannot Skip
1. Unpacking and Inspection
Carefully inspect the unit for any shipping damage like dents or cracks.
Check the contents against the manual for all hoses, parts, and documents.
Keep the warranty card and sales receipt in case of manufacturer defects.
2. Removing the Shipping Bolts
This is a common and critical error. Typically 3-4 bolts on the back secure the drum for transport.
Use the supplied wrench to remove them completely.
Install the provided plastic plugs into the vacant holes. Leaving them out will cause leaks.
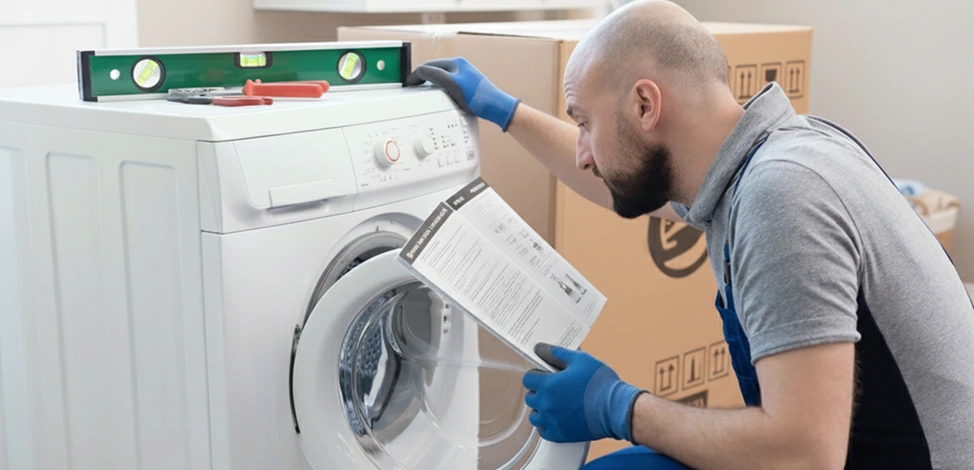
3. Precise Leveling
Use a quality carpenter's level that is at least 24 inches long.
Adjust the height of the front feet by turning them clockwise to raise and counterclockwise to lower.
Check stability by gently rocking the machine from the top corners. It should not wobble at all.
Professional Advice from Fix Concierge Technicians: "Improper leveling causes 90% of complaints about excessive vibration and 'walking' during the spin cycle. The machine must be level from side-to-side and front-to-back. Even a slight tilt can cause drum imbalance and premature bearing wear."
Water Connection: Methods, Standards, and Hidden Risks
Standard Connection Options in American Homes:
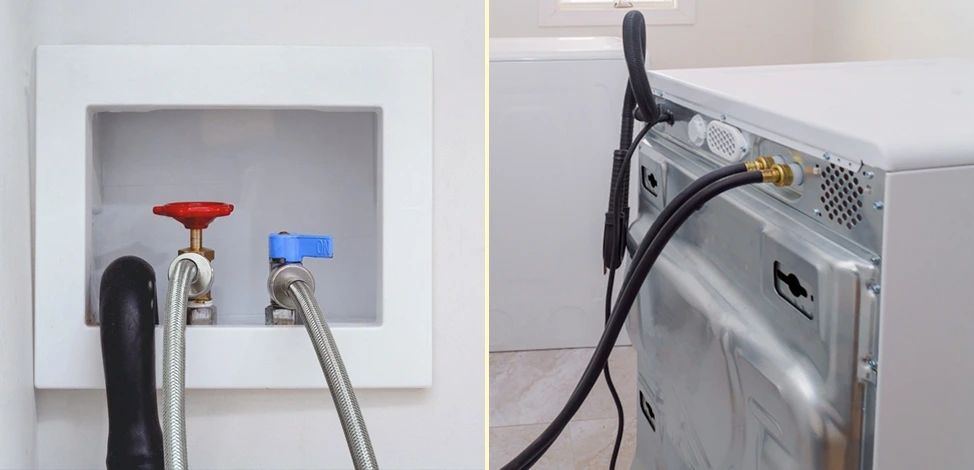
1. Connection to Dedicated Water Valves (Preferred Method)
Modern homes have separate shut-off valves for cold water in the laundry area.
Process: Ensure valves are closed. Remove plastic plugs from new hoses. Hand-tighten the hose nuts onto the valves. Give a final quarter-turn with an adjustable wrench, but avoid over-tightening to prevent damaging the rubber washer.
2. Installing a Tee Fitting
Used if dedicated washer valves are not present, but there is access to a nearby water line (e.g., under a sink).
Process: Shut off the main water supply. Install a tee fitting on the cold water line and add a new shut-off valve. This requires basic plumbing skills and correct parts.
3. Tapping into Existing Pipes
The most complex method, requiring specialized tools for cutting and soldering copper pipes.
Strongly not recommended for DIYers due to the high risk of leaks.
Technical Requirements for Water Supply:
Water Pressure: Ideal range is 20-120 psi (pounds per square inch). A pressure-reducing valve is needed if pressure exceeds 120 psi.
Hoses: Use only steel-braided, burst-proof hoses. Replace them every 5 years. Do not use hoses longer than 8 feet.
Drain Connection: Correct Methods and Common Violations
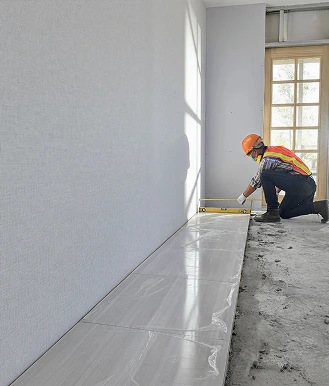
1. Connection to a Standpipe (The Correct Way)
A dedicated drain pipe, 1.5 to 2 inches in diameter, should be located 24-36 inches above the floor.
The drain hose must be secured in the standpipe, but an "air gap" must be maintained to prevent siphoning. The hose should not be pushed more than a few inches down the pipe.
2. Sink Drainage
A temporary solution using a drain hose adapter that clips onto a utility sink.
Not recommended for permanent use due to the risk of the hose slipping out.
What is Strictly Prohibited:
Connecting the drain hose directly into a floor drain or pipe without an air gap, as this can cause siphoning and contamination.
Electrical Connection: Safety First
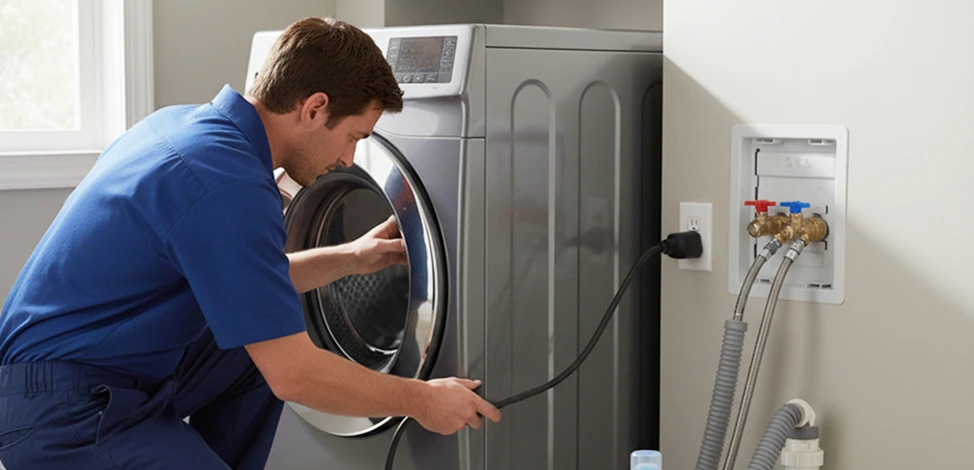
Outlet: The washer must be plugged into a grounded, three-prong 120-volt outlet.
· Circuit: It should be on a dedicated 15- or 20-amp circuit to prevent overloading.
· Safety: Never use an extension cord or a two-prong adapter.
Test Run Procedure:
1. Plug the machine into the outlet.
2. Fully open the cold water valve.
3. Run a small, empty load (like a "Quick Wash") with a small amount of detergent.
4. Observe the cycle:
- Fill: Does it fill quickly and evenly?
- Drain: Does water drain completely and quickly?
- Spin: Is vibration minimal and acceptable?
5. After the cycle, check for any water leaks under the machine or inside the drum.
Advantages of Professional Installation via Fix Concierge Service
Quality and Safety Guarantee:
- Work is performed by licensed, insured, and background-checked technicians.
- All parts and materials meet US standards (like UL certification).
- A warranty is provided on the labor.
Saves Time, Stress, and Money:
- The technician arrives within a scheduled 2-hour window.
- The job is typically completed in 1-2 hours.
- The technician brings all necessary tools and parts.
- You avoid the costly risks of improper installation.
Full-Service Solution:
- Consultation on the best placement.
- Removal and disposal of the old appliance.
- Inspection of your existing utilities.
- Proper installation and connection of the new machine.
- A full test cycle and operational walkthrough.
How to Order Professional Installation via the Fix Concierge Service App
Just 4 simple steps for reliability and peace of mind:
1. Download the app for iPhone or Android.
2. Create a Task:
- Specify the make and model of your washer and the installation location.
- Describe the existing utilities (e.g., "has a cold water valve and a drain pipe").
- Upload 2-3 photos of the space.
3. Get Matched:
We will notify you of your assigned technician, including their name, photo, and scheduled arrival time.
4. Approve & Pay:
Once the job is completed to your satisfaction, pay the technician directly in cash or securely through the app.
Do not risk costly repairs and your peace of mind! Professional installation through Fix Concierge is an affordable way to get 100% protection from the financial losses and headaches of a faulty DIY job.
Download the Fix Concierge app today and see how simple reliability can be