How to check the quality of plaster walls in your us home

How to Check Plaster Quality and Wall Geometry to Avoid Costly Redos
It is a common scenario: the renovation is nearly finished, with only wallpapering or painting left, when you discover the walls are uneven, the corners are out of square, and furniture will not fit flush. The plasterers have already been paid and left, forcing you to find new contractors and pay twice.
How can you verify the quality of plasterwork during the final inspection to avoid extra costs and delays? Let us break it down.
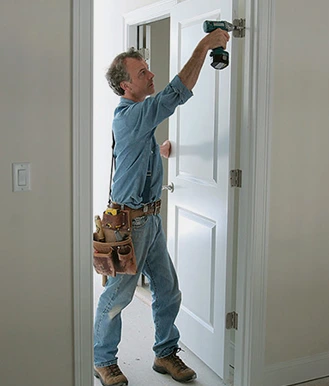
Why Trust a Professional with the Inspection? Checking the work yourself requires time, specific tools, and experience. It is simpler and more reliable to schedule a free job assessment through the Fix Concierge Service app. Our trusted pro will arrive with professional tools, take all necessary measurements, provide a detailed report, and if needed, recommend solutions to fix any issues immediately.
A Brief Overview
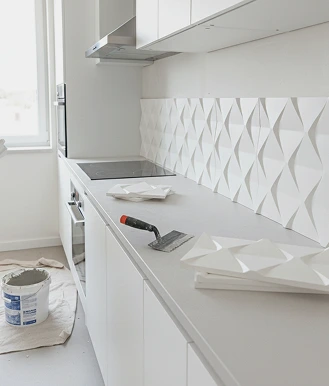
The process of wall leveling is straightforward. First, plaster establishes the basic geometry and plane. Then, joint compound smooths the surface. Remember that errors during plastering are nearly impossible to correct with joint compound alone. If the walls are initially uneven, this will become obvious after painting or hanging thin wallpaper.
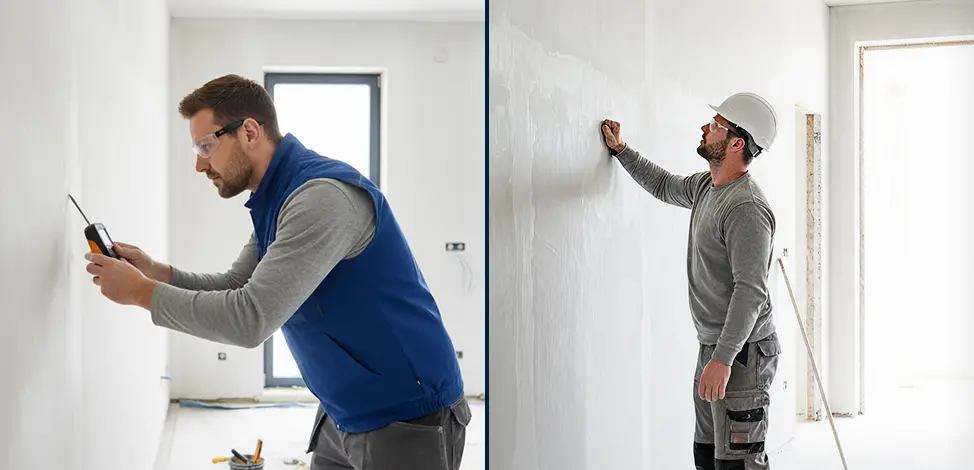
1. Checking Wall Flatness
In most homes, walls are somewhat out of plumb. If not properly aligned, you will face issues like gaps between walls and door trims, misaligned tile seams in corners, and furniture that will not sit flush.
How to Check: Use a long (at least 6-foot) spirit level from a reliable brand like STABILA or Empire. Place it against the wall at multiple points, every 2-3 feet. According to US standards, the tolerance for quality work typically should not exceed 1/8 inch over an 8-foot span.
Fix Concierge Advice: Not everyone owns a 6-foot level. Simply take a photo of the concerning area and create a request in our app. A pro will come with professional tools and conduct a full inspection.
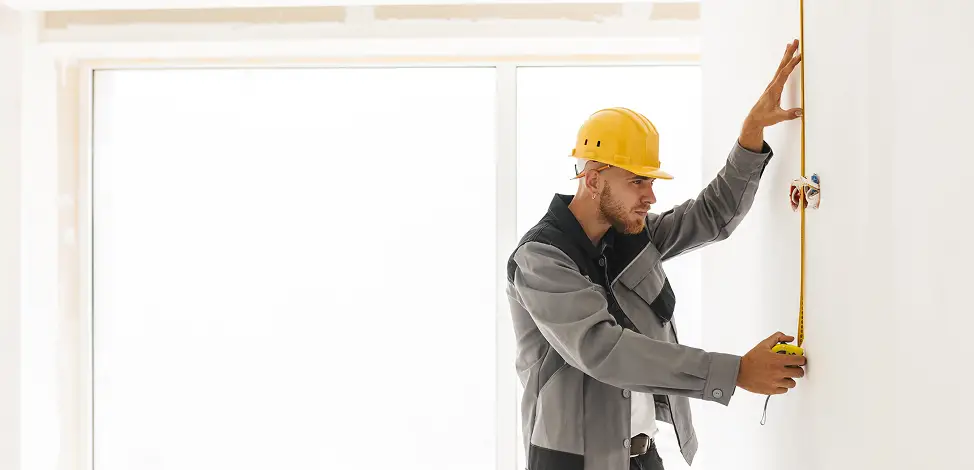
2. Checking Corner Angles (90 Degrees)
Your furniture-cabinets, wardrobes, kitchen sets-has perfect right angles. For them to fit snugly into corners, the wall angles must be 90 degrees. This is critical for built-in closets and kitchen corners.
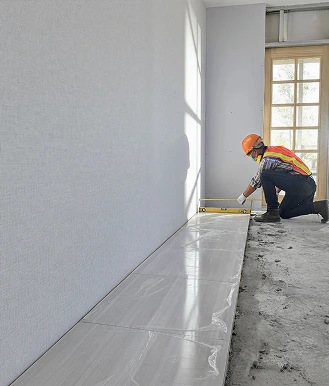
How to Check: The simplest method is to measure the room's diagonals with a tape measure. If the room is rectangular, the diagonals should be equal. A more accurate approach is using a large construction square with arms at least 20 inches long. Check the entire corner from floor to ceiling.
3. Checking Wall Parallelism
If opposite walls are not parallel, it will become apparent when installing flooring. Floorboards laid parallel to the walls will appear to taper or widen, creating a visible issue.
How to Check: Use a tape measure to check the distance between opposite walls at both ends of the room. These measurements should be identical.
Fix Concierge Solution: If walls are significantly out of plumb and require a thick plaster layer (over 1.5 inches), it is often better and more cost-effective to cover them with drywall. Our pros will recommend the most efficient and budget-friendly solution for your situation.
4. Inspecting Door and Window Openings (Jambs)
Clean, straight lines around openings make a room look finished. The jambs must be perfectly vertical and horizontal.
How to Check: Use a level to verify the verticality of the side jambs and the horizontality of the top ones. Ensure the plaster does not interfere with the operation of windows or doors.
5. Checking the Wall Plane

Even minor imperfections will be highlighted on a painted wall or one with thin wallpaper. Pay close attention to areas around electrical outlets, corners, and spots where plaster guides were removed.
How to Check: Place a long, straight edge (at least 6 feet) or a flat board against the wall. Observe the gap between the edge and the wall. Minor, smooth deviations of no more than 1/16 inch are generally acceptable. Pay special attention to areas where baseboards and trim will be installed-any gaps here will be noticeable.
6. Checking the Ceiling
An uneven ceiling is easily noticeable, especially where it meets walls painted a contrasting color.
How to Check: Place a long straight edge against the ceiling, particularly around the perimeter where it meets the walls.
Plaster Layer Thickness
This is a key factor affecting durability and finish quality. A layer that is too thin may not conceal underlying flaws and could fail prematurely. An excessively thick layer can crack under its own weight. The ideal thickness depends on the plaster type and wall irregularities but typically ranges from 3/8 to 3/4 inch.
How to Check: Layer thickness can be estimated visually, especially at corners and junctions. For a more precise check, measure the thickness at several points using a level and a metal ruler.
Surface Geometry
Beyond flatness, ensure corners are true 90 degrees and surfaces have no deviations from vertical or horizontal. Incorrect geometry leads to problems when installing furniture, doors, windows, and other elements.
How to Check: Use a spirit level and a square. Place the level against the wall in various directions to check for deviations. Verify corners with the square.
Assessing Surface Readiness for Finishing
The plaster must be completely dry before painting, wallpapering, or other finishes. Inadequate drying can cause mold, mildew, and finish failure.
How to Check: Use a moisture meter on the plaster. If unavailable, use this practical method: tape a piece of plastic wrap tightly to the wall. If condensation appears under the plastic after a few hours, the plaster is not fully dry.
Surface Quality Control
A wall must not only be flat but also smooth and defect-free. The plaster should not be powdery, and should be free of cracks, scratches, or tool marks.
How to Check: Run your hand over the plastered surface. It should feel smooth without noticeable bumps. Inspect the wall under bright, raking light-this highlights imperfections. Check areas where plaster guides were removed; there should be no depressions or protrusions.
Checking Adhesion to the Substrate
The plaster must bond firmly to the wall. Peeling or crumbling indicates poor surface preparation or incorrect application.
How to Check: Gently tap the wall in various places. A hollow sound suggests plaster detachment. Lightly scratch the surface; quality plaster should be hard and not crumble.
Verification of Materials Used
Ask the plasterer what materials were used. It is crucial that high-quality plaster mixes suitable for your wall type and room conditions were applied. Cheap or incorrect materials can lead to cracking, peeling, and other issues.
Conclusion: Trust the Inspection to Professionals and Save Time and Money
Attempting to find all flaws yourself without experience and tools is often ineffective. You might miss critical defects that will surface later. Our pro will help inspect the workmanship and assess if the correct materials were used. We partner with trusted suppliers and guarantee the use of high-quality materials.
Quality Assurance from Fix Concierge Service
Stop wondering if the job was done right. Our app is your reliable solution for finding verified specialists for any repair stage.
Download the app for iPhone or Android.
Describe your task, for example, "Plaster work quality inspection" or "Fixing uneven walls."
Get Matched with a Pro-we will send the best specialist in geometry and finishing.
Pay conveniently after you approve the work.
Trust your renovation to professionals for perfectly smooth walls and corners.